
Most home renovations don’t fail because of a bad contractor or the wrong tile choice. They fail because the planning phase got rushed. Homeowners jump to picking finishes before they’ve defined the scope, or they get a construction bid before they’ve figured out what the space actually needs to do. Knowing how to start home renovations in the right order, starting with goals and design before a single wall comes down, is what separates a project that runs smoothly from one that runs over budget and over schedule.
This guide walks through the full planning process, including how to design a home renovation once your goals and budget are clear, so you can approach your project with a plan instead of a guess.
Why Renovation Planning Matters More Than People Expect
A renovation is really two projects layered on top of each other: a design project and a construction project. Skipping ahead to construction planning before the design is settled is the single biggest driver of change orders, budget overruns, and mid-project regret. A well-planned renovation, by contrast, has already answered the hard questions, what the space needs to do, what it will cost, and how long it will take, before any demolition begins.
How to Start Home Renovations: Step by Step
Step 1: Define the Problem You’re Solving
Before thinking about paint colors or countertops, get specific about what isn’t working. Is the kitchen too small for how your family actually cooks? Is there no space for a home office? Is an aging parent moving in and your home doesn’t have a suitable space? Naming the actual problem keeps the rest of the process focused on function, not just aesthetics.
Step 2: Set a Realistic Budget Range
Decide on a budget range before you fall in love with finishes you can’t afford. It’s worth building in a contingency of roughly 10 to 20 percent beyond your target budget, since unexpected conditions, like outdated wiring or plumbing behind a wall, are common in older homes.
Step 3: Prioritize Must-Haves vs. Nice-to-Haves
List what the renovation absolutely needs to accomplish versus what would be nice if the budget allows. This list becomes essential later when a design or material choice needs to be scaled back to stay on budget.
Step 4: Research the Right Project Delivery Model
Decide whether you’re hiring an architect and general contractor separately, or working with a design build firm that handles design and construction under one team. This decision affects your entire timeline and how early you’ll know your real project cost.
Step 5: Get a Professional Site Assessment
A designer or design-build team can evaluate your home’s structure, plumbing, and electrical systems to flag issues that will affect cost or feasibility before you’re emotionally attached to a specific design.
Step 6: Move Into the Design Phase
Once scope and budget are defined, design work begins in earnest, translating your goals into an actual floor plan, material palette, and construction-ready set of drawings.
Step 7: Confirm Permitting Requirements
Your township’s permitting requirements should be confirmed during design, not after, so the design accounts for any zoning setbacks, egress rules, or structural code requirements from the start.
Step 8: Finalize Pricing Before Construction Begins
A clear, itemized cost estimate should be locked in before demolition starts. This is where a design build model has a real advantage, since pricing is developed alongside design instead of after it.
Step 9: Build a Realistic Construction Timeline
Once pricing is finalized, a full schedule, including material lead times, should be shared with you before work begins, so you know what to expect week to week.
How to Design a Home Renovation
Once you’ve worked through the planning steps above, the design phase is where your goals actually take shape. Here’s how that process typically works.
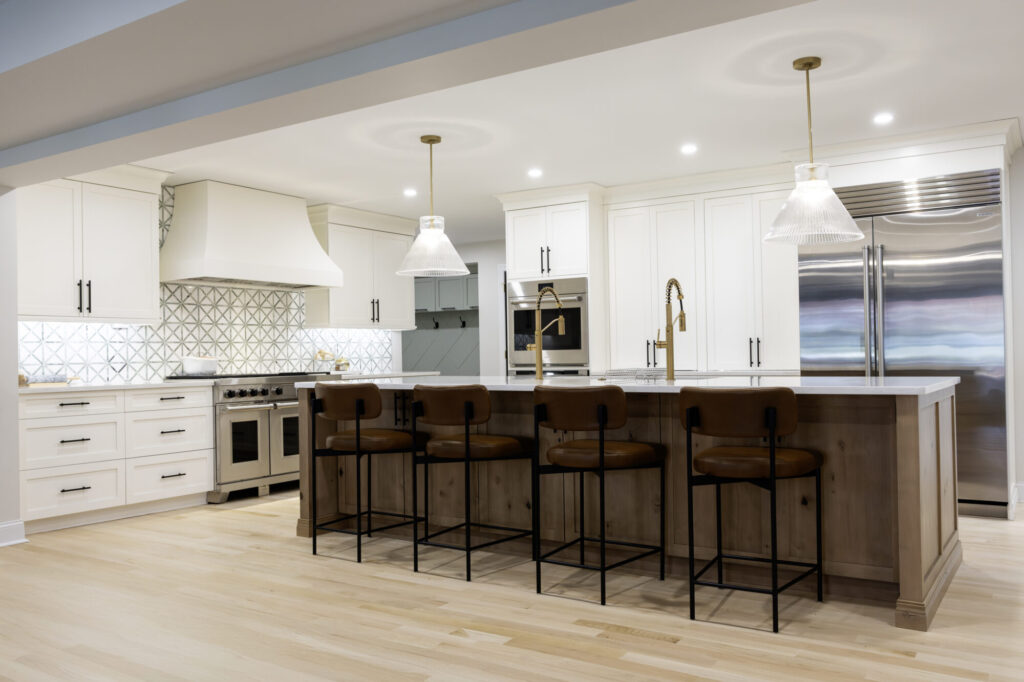
- Start with function, not finishes. Map out how you actually use the space day to day before choosing a single material. A kitchen layout should follow how you cook and gather, not just how a showroom photo looks.
- Work through the layout before the details. Floor plan and traffic flow come first. Where do people enter the room, where do appliances or fixtures need to go, and does the layout create logical work zones? Finishes are the last decision, not the first.
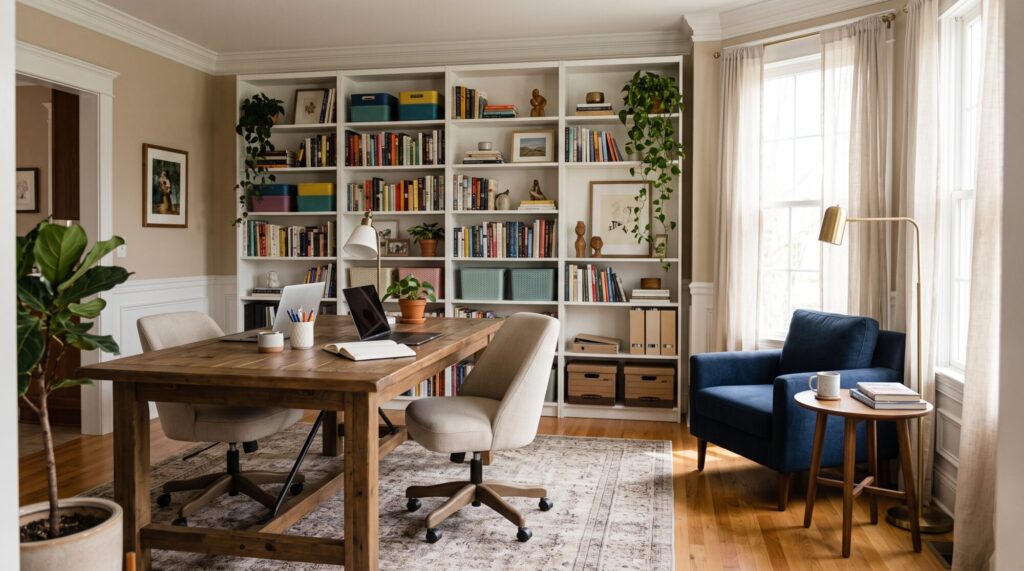
- Think in zones for multi-use spaces. For additions like in-law suites, home offices, or mudrooms, define distinct zones within the space so the design supports more than one activity without feeling cramped.
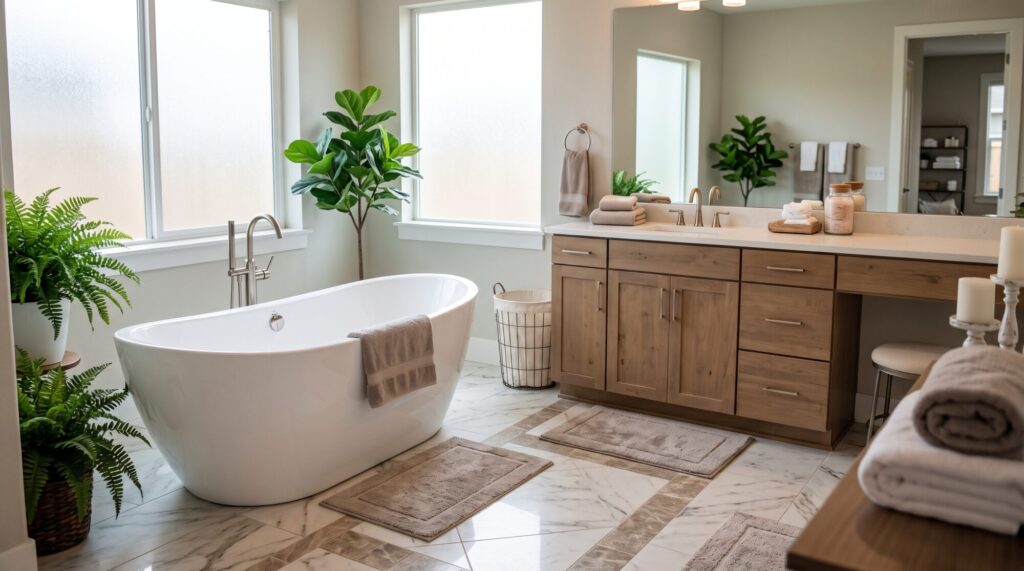
- Choose materials for durability first, then style. Especially in kitchens, bathrooms, and laundry rooms, materials need to hold up to daily use. Narrow your options to durable choices first, then select within that list for the look you want.
- Build in flexibility for the long term. Consider how your needs might change, aging in place, a growing family, or resale value, and design in features like wider doorways or curbless showers now rather than retrofitting later.
- Get drawings before you commit to a budget number. A real floor plan and elevation drawings, not just an inspiration board, are what allow accurate pricing. Without drawings, budget estimates are little more than guesses.
Common Mistakes to Avoid When Starting a Renovation
- Getting a price before a plan. Without finished design drawings, any cost estimate you receive is rough at best.
- Underestimating older-home surprises. Homes built before modern code often have outdated wiring, plumbing, or structural elements that aren’t visible until walls are opened.
- Choosing finishes before finalizing layout. Committing to specific materials before the floor plan is settled often leads to costly changes later.
- Skipping the permitting conversation early. Discovering a zoning issue after design is finished can delay a project by weeks or months.
- Underbudgeting the contingency. A renovation with zero built-in buffer for the unexpected is a renovation likely to stall mid-project.
When to Bring in a Design-Build Team
Homeowners who are still defining the scope of their project, rather than working from finished architectural drawings, generally benefit most from a design build approach. Because one team manages both design and construction, budget realism and buildability are part of the conversation from your very first meeting, not something you discover after design is already finished. This is especially valuable for larger projects like additions, in-law suites, and full kitchen or bathroom remodels, where structural decisions and cost are closely linked from day one.
Frequently Asked Questions
What is the first step in planning a home renovation? The first step is defining the specific problem the renovation needs to solve, whether that’s more space, better function, or accommodating a life change, before considering budget, design, or materials.
How do I design a home renovation on a budget? Start by prioritizing must-haves over nice-to-haves, choose durable materials before decorative ones, and get a real floor plan before selecting finishes, since an accurate budget depends on finished design drawings rather than early estimates.
Should I hire a designer before a contractor? In a traditional model, yes, design typically comes before a contractor is hired to build from finished plans. A design build firm removes this sequence entirely by handling design and construction as one team from the start.
How long does it take to plan a home renovation? Planning timelines vary by project size, but defining scope, budget, and design typically takes several weeks to a few months before construction begins, depending on the complexity of the project and permitting requirements.
What’s the biggest mistake homeowners make when starting a renovation? The most common mistake is requesting construction pricing before design is finalized, which leads to inaccurate estimates, costly redesigns, and budget surprises once real drawings are complete.
Ready to Start Planning Your Renovation the Right Way?
Knowing how to start home renovations comes down to sequencing: define your goals, set a real budget, design around function, and lock in pricing before construction begins. Volpe Design Build manages that entire process under one team, from your first site assessment through the final walk-through, so your project stays aligned with your goals and your budget from day one.